The WiscNet DNS Portal is only accessible while connected to the WiscNet Network. It was updated on which gives a slightly different appearance with functionality intact
As of fall 2021, WiscNet has transitioned to a DNS management system that allows you to manage your own DNS records should you choose to.
If you are interested in managing your own zone files, please follow the instructions on DNS: Creating a DNS Portal User or reach out to support@wiscnet.net to request access.
Web Interface
The DNS portal will allow you to edit the following fields for a DNS record.
| Field | Default | Description | Screenshot |
|---|---|---|---|
| Name | <blank> | DNS Name |
|
| Type | A | Record type. List is alphabetical, see below for common uses | |
| Status | Active | Active/Disabled. Lets you disable a record. The DNS server will not serve a disabled entry, but leave it visible in the portal if you need to re-enable later. | |
| TTL | 4 Hours (14400 seconds) | Time to Live. Amount of time this record should be cached on Recursive DNS servers before rechecking with Authoritative servers. Leave as default unless this is a special case. | |
| Data | <blank> | The value to return, "destination". If the Data field contains a name, you must use the fully-qualified domain name. e.g. if you point 'maple.example.com' to the CNAME 'bacon.example.com', the Data field must contain 'bacon.example.com.' | |
| Comment | <blank> | Comment to yourself, e.g. "ticket 1234". The comment field will not be used as DNS data, and is only visible in portal. |
Adding and Editing Records
When making changes to records, be sure to press SAVE CHANGES button before navigating away from the edit view or your changes will be lost!
Forward Zones
| Instructions | Screenshot |
|---|---|
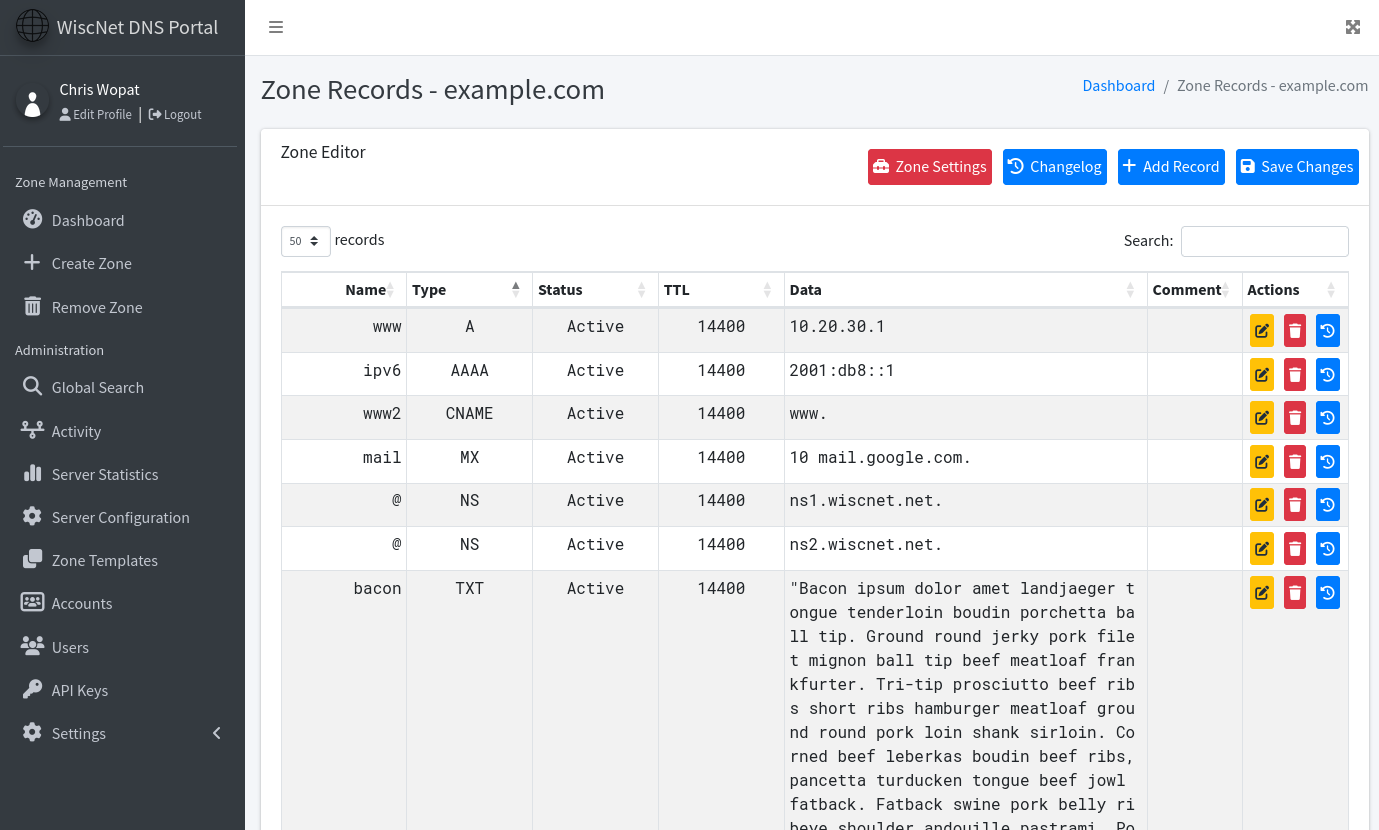
Forward zones are listed on the "Zones" tab See DNS: Record Types for details about specific record types (A, NS, MX, etc). |
|
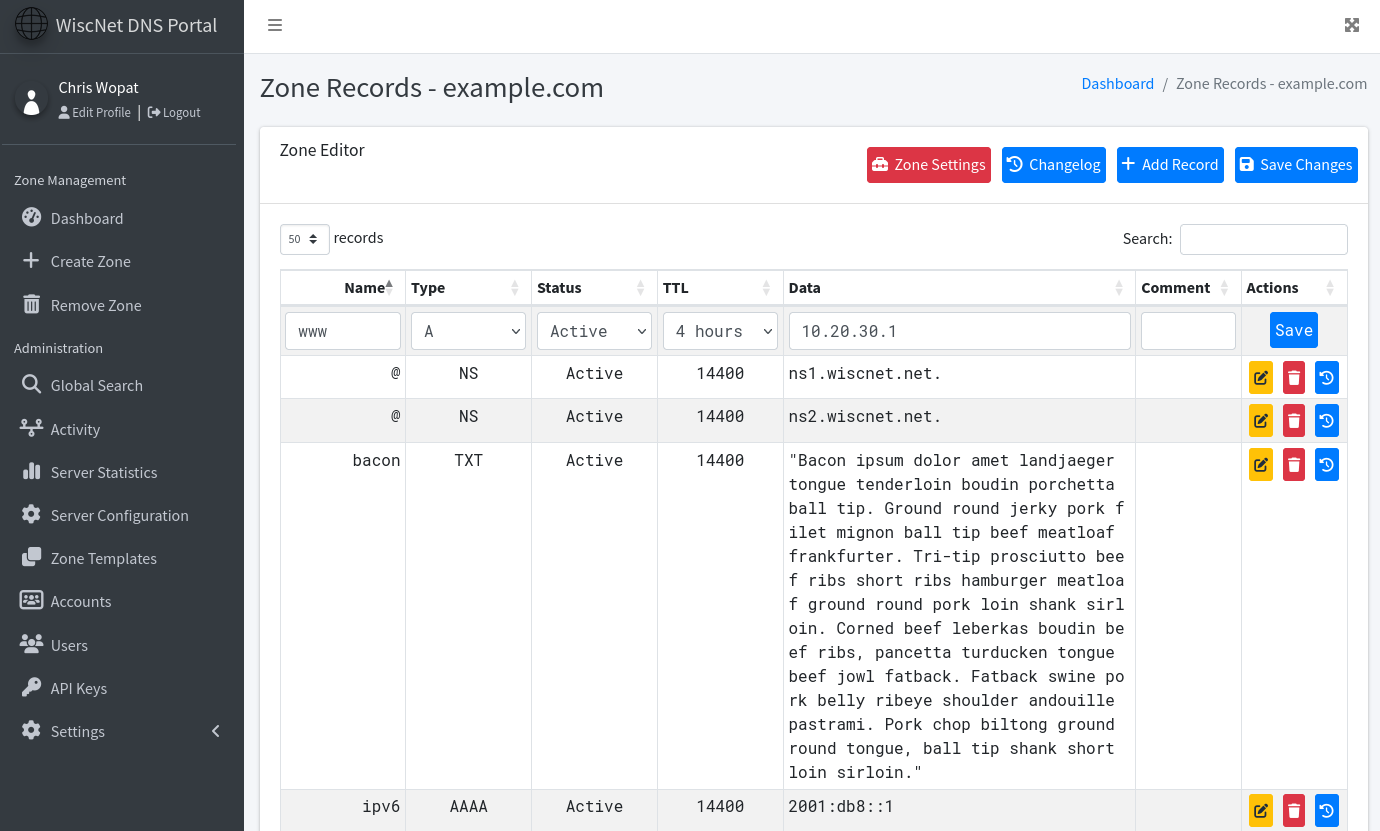
Press ADD RECORD to create a new record OR EDIT to modify an existing record. Fill in the Name, Type, and Data fields Status, TTL, Comment fields are optional. We recommend keeping the TTL set to 4 hours (14400 seconds) unless you know you need a different value. |
|
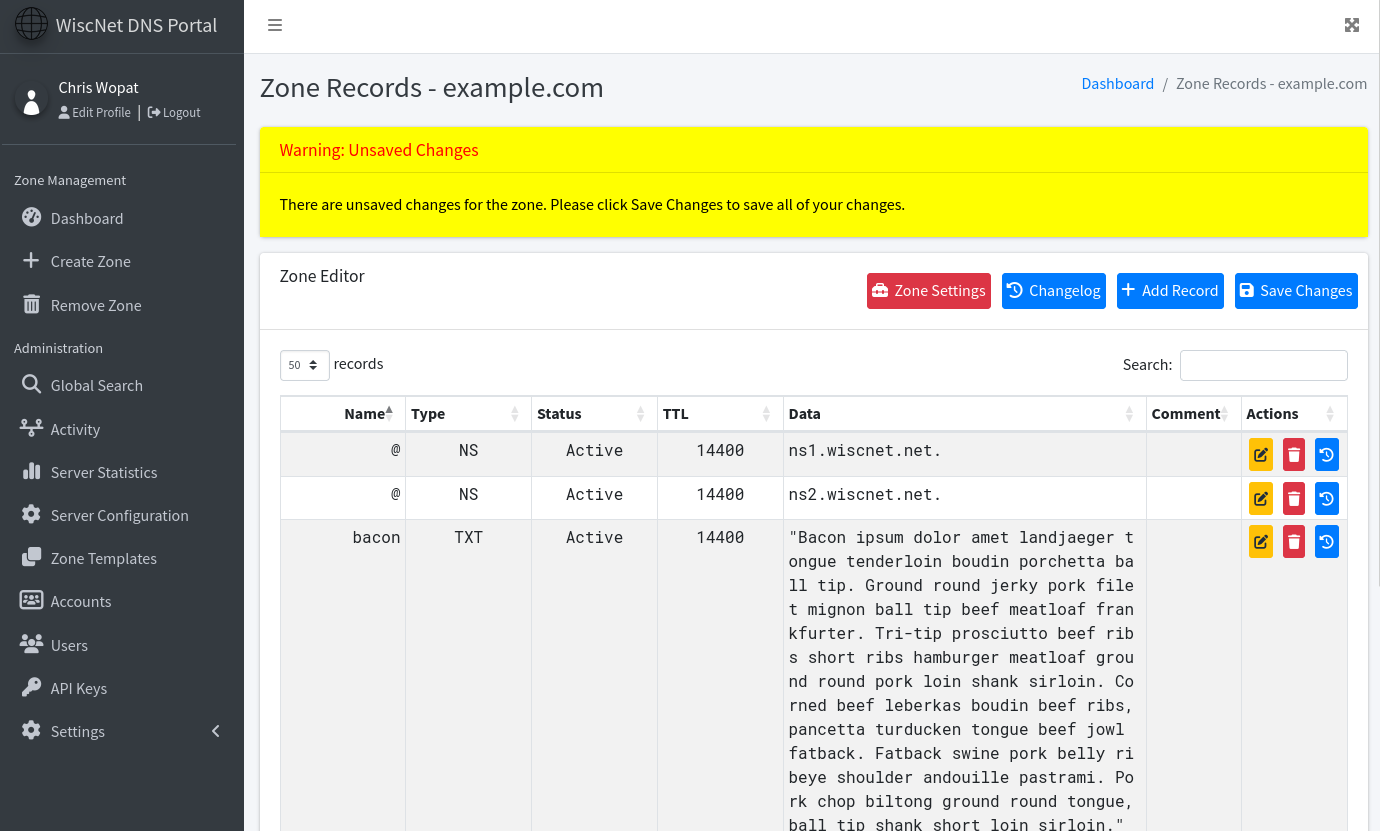
Press SAVE to the right of the record you added You will get a warning at the top Make further additions or changes if desired |
|
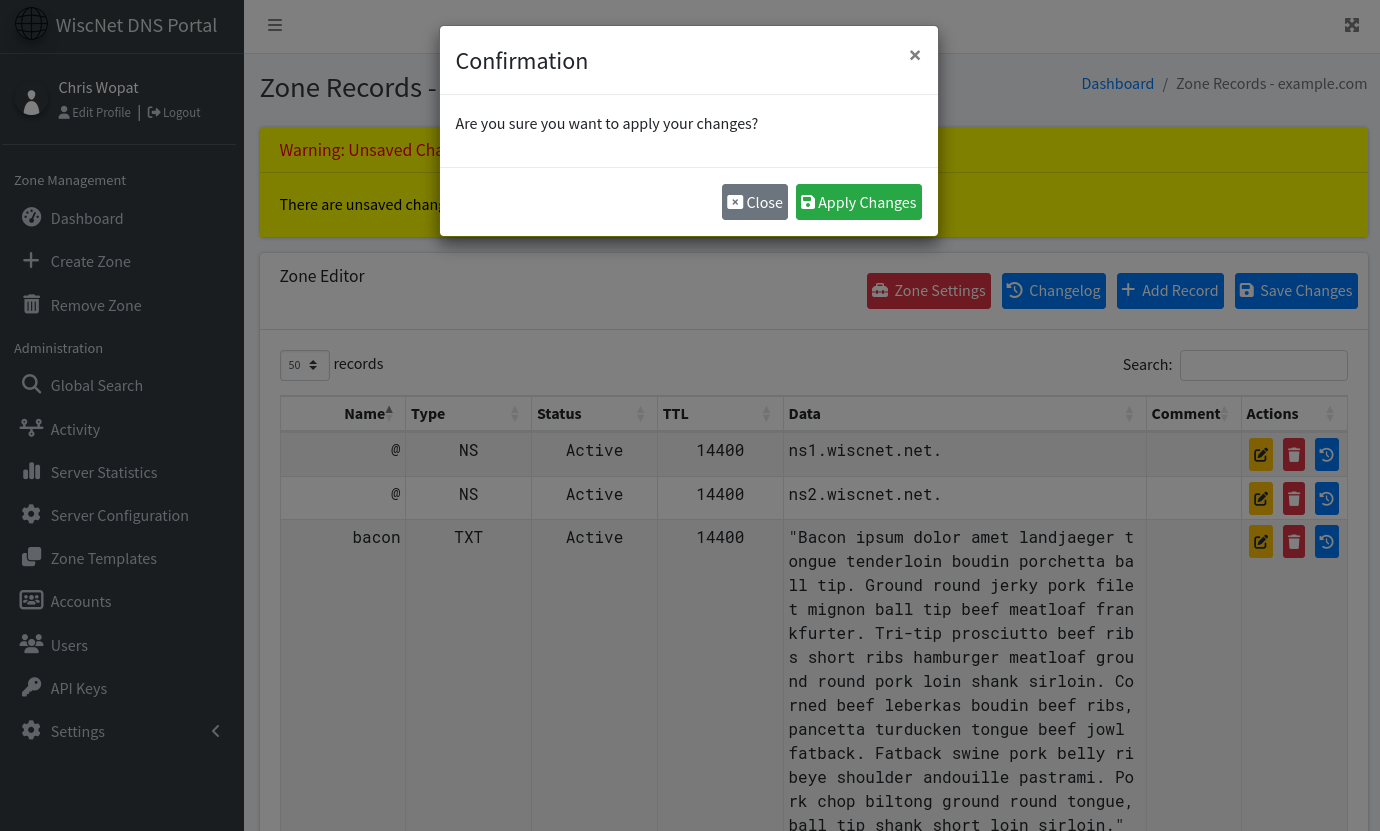
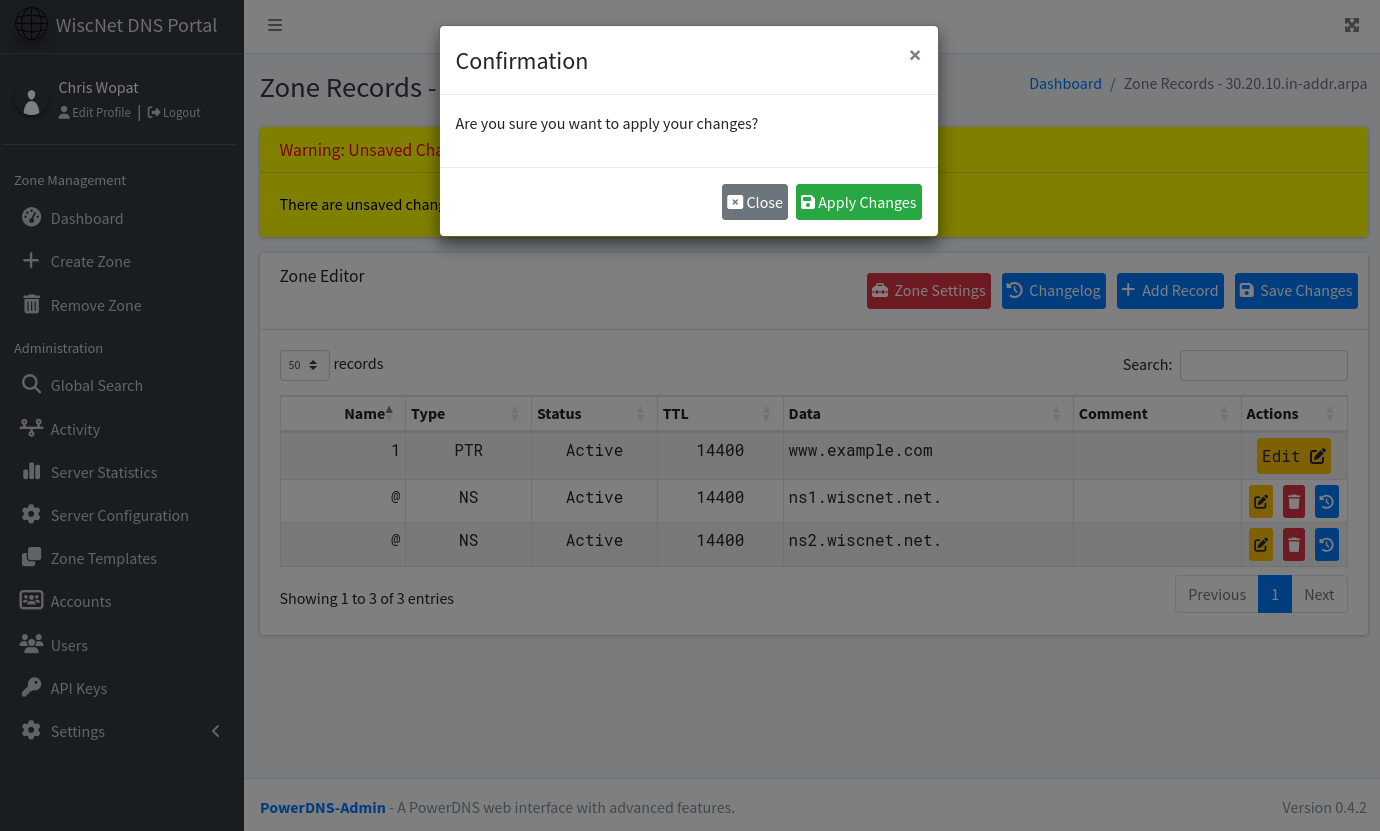
Press SAVE CHANGES 💾 under the yellow warning to apply all changes you've made Confirm changes by pressing APPLY CHANGES |
|
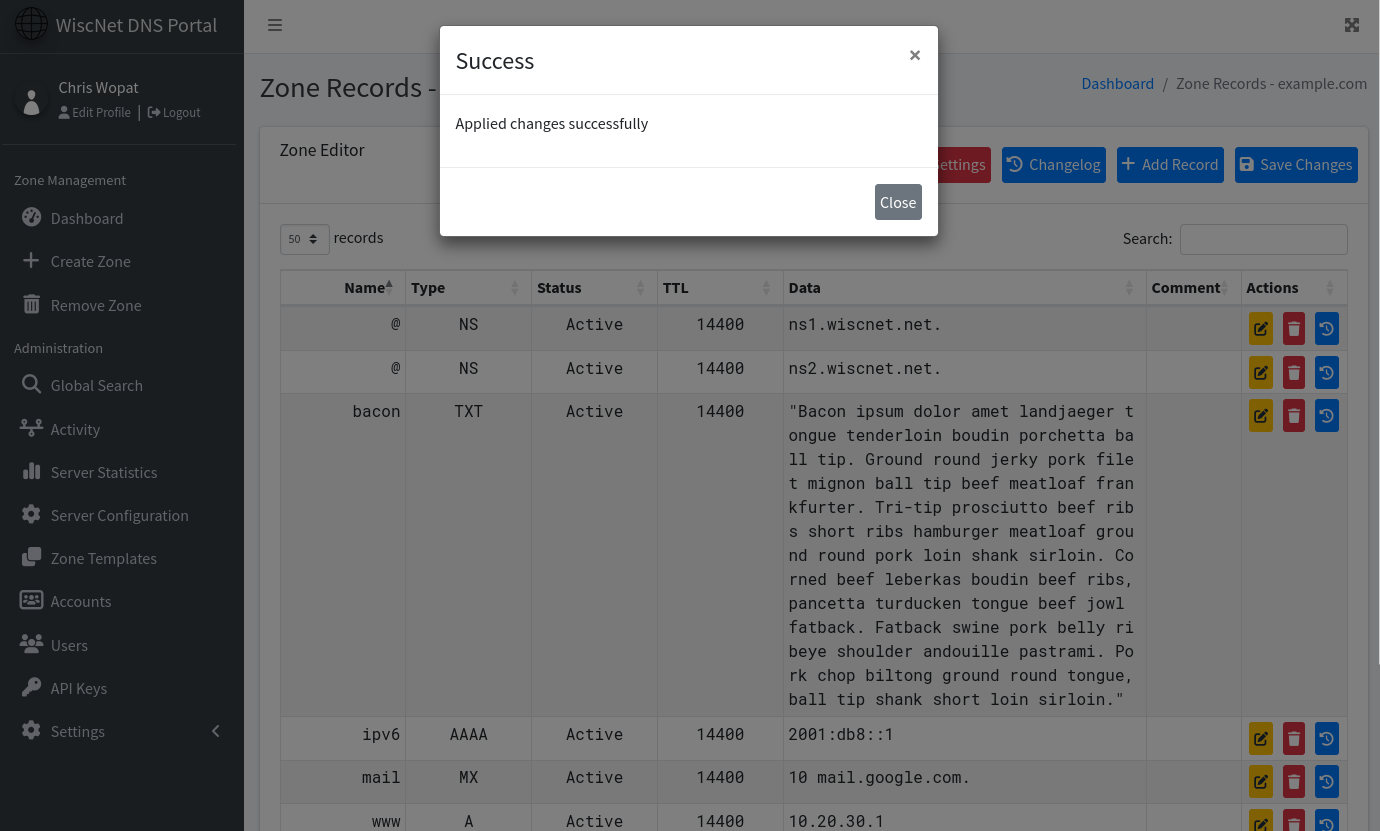
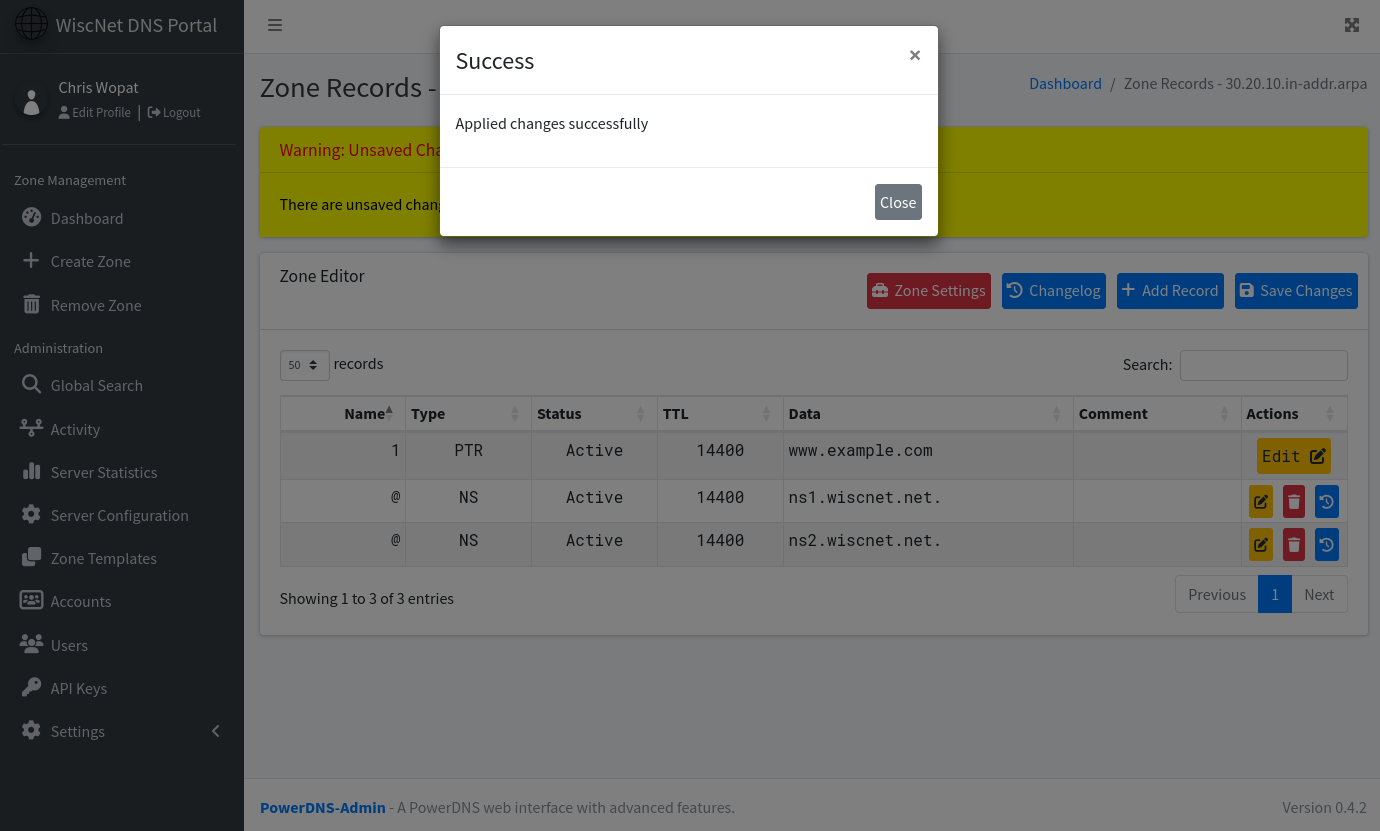
Success! The page will auto refresh |
|
Reverse (PTR) Zones
IPv4
| Instructions | Screenshot |
|---|---|
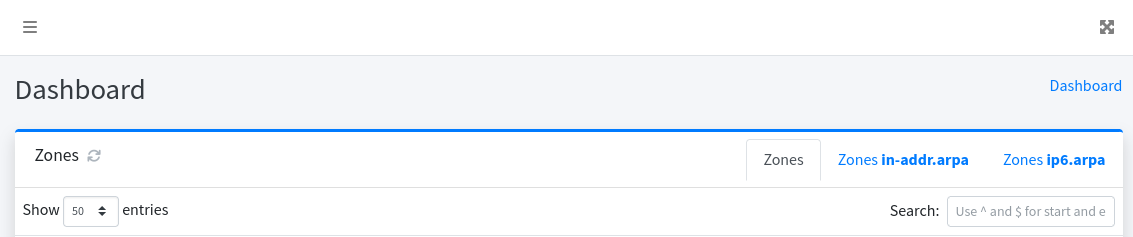
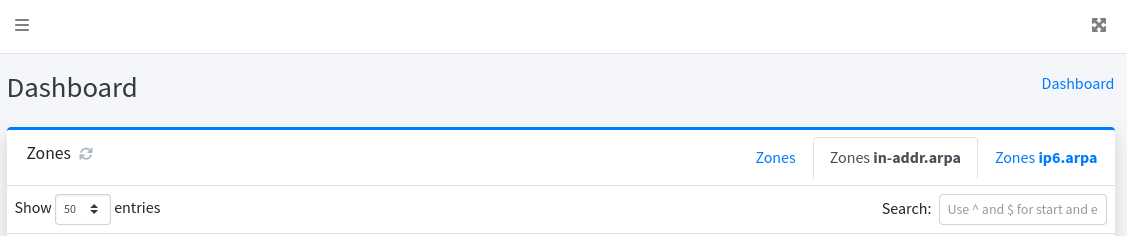
IPv4 reverse zones are listed on the "Zones in-addr.arpa" tab. These will only appear if you own or have delegated IPv4 space. IPv4 reverse zones are listed in a reverse format per RFC1035 Sec 3.5. A zone called "30.20.10.in-addr-arpa" handles data for 10.20.30.0/24. |
|
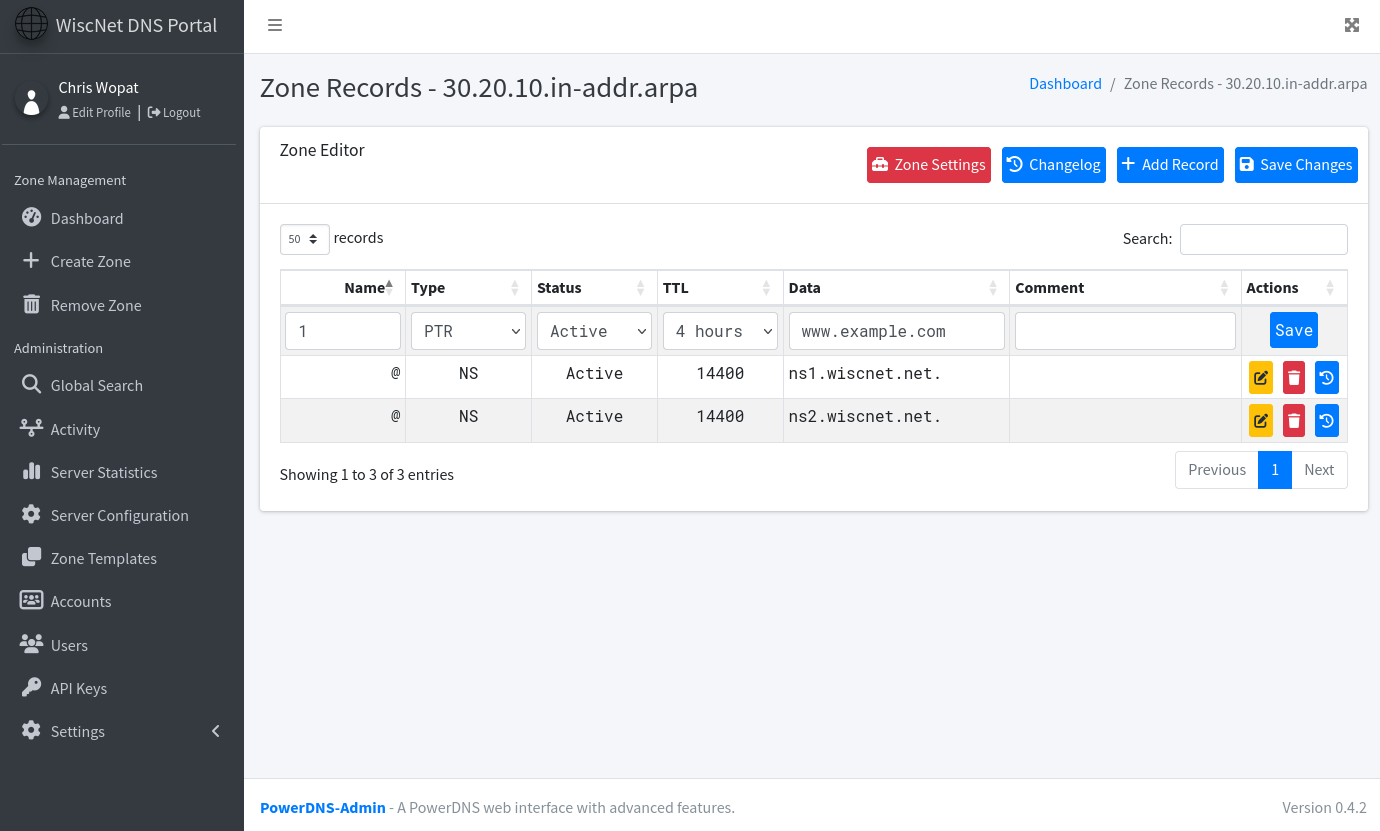
Press ADD RECORD OR EDIT button Set "name" to the last number in the IP address, which is 1 in this example (this will create 10.20.30.1) For data, enter the full domain name, www.example.com in this example Note that PTR records require a trailing period (.) character. If you do not enter one, it will be automatically added. |
|
Press SAVE to the right of the record you added You will get a warning at the top Make further additions or changes if desired |
|
Press SAVE CHANGES 💾 under the yellow warning to apply all changes you've made Confirm changes by pressing APPLY CHANGES |
|
Success! The page will auto refresh |
|

IPv6
| Instructions | Screenshot |
|---|---|
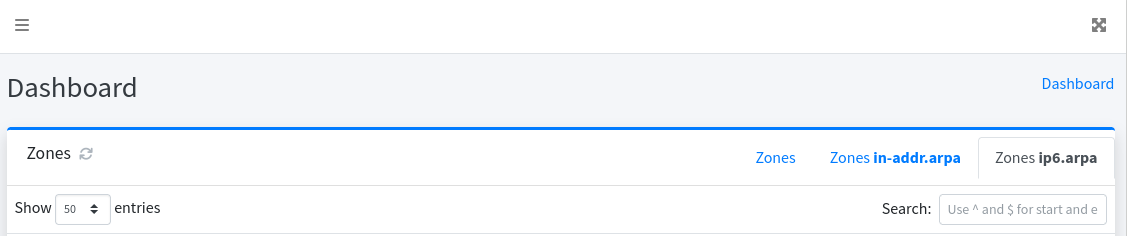
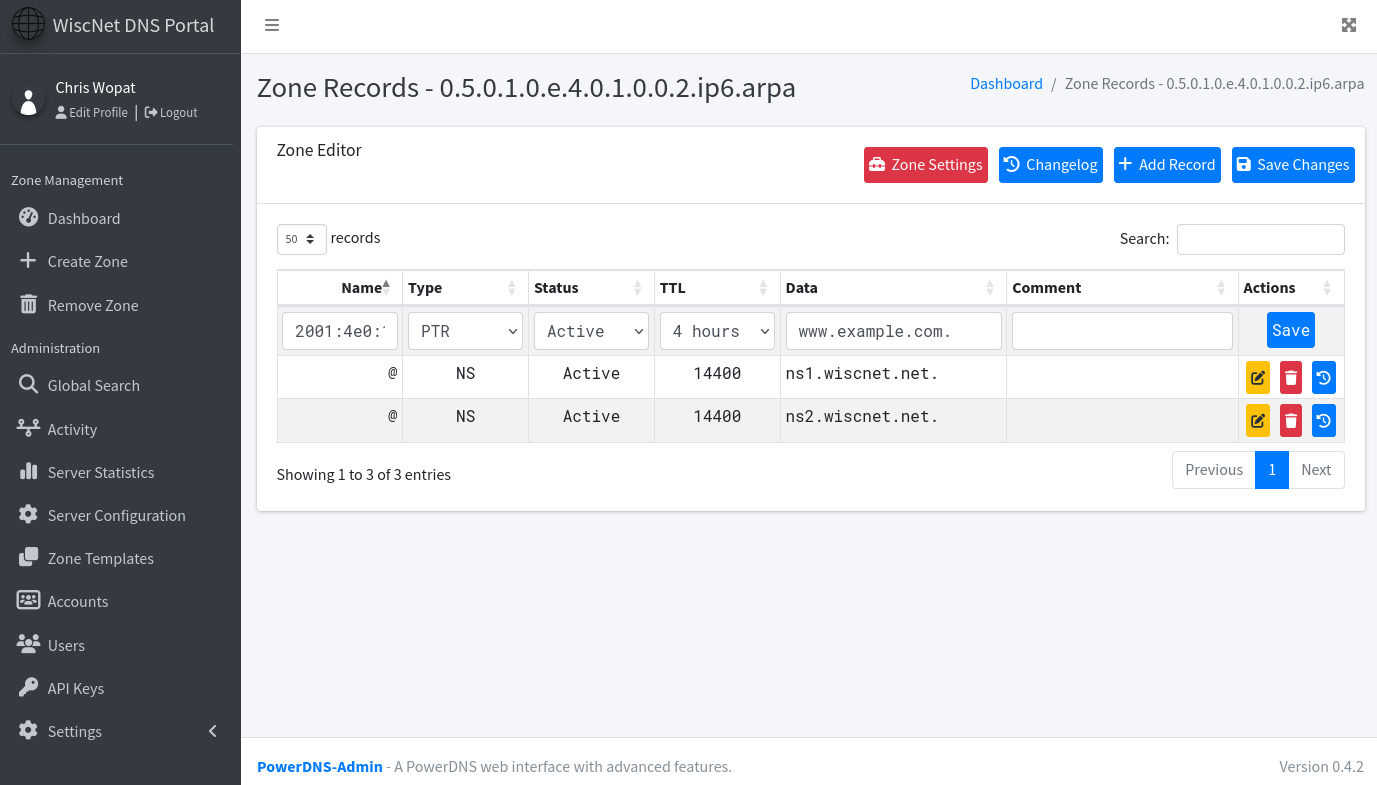
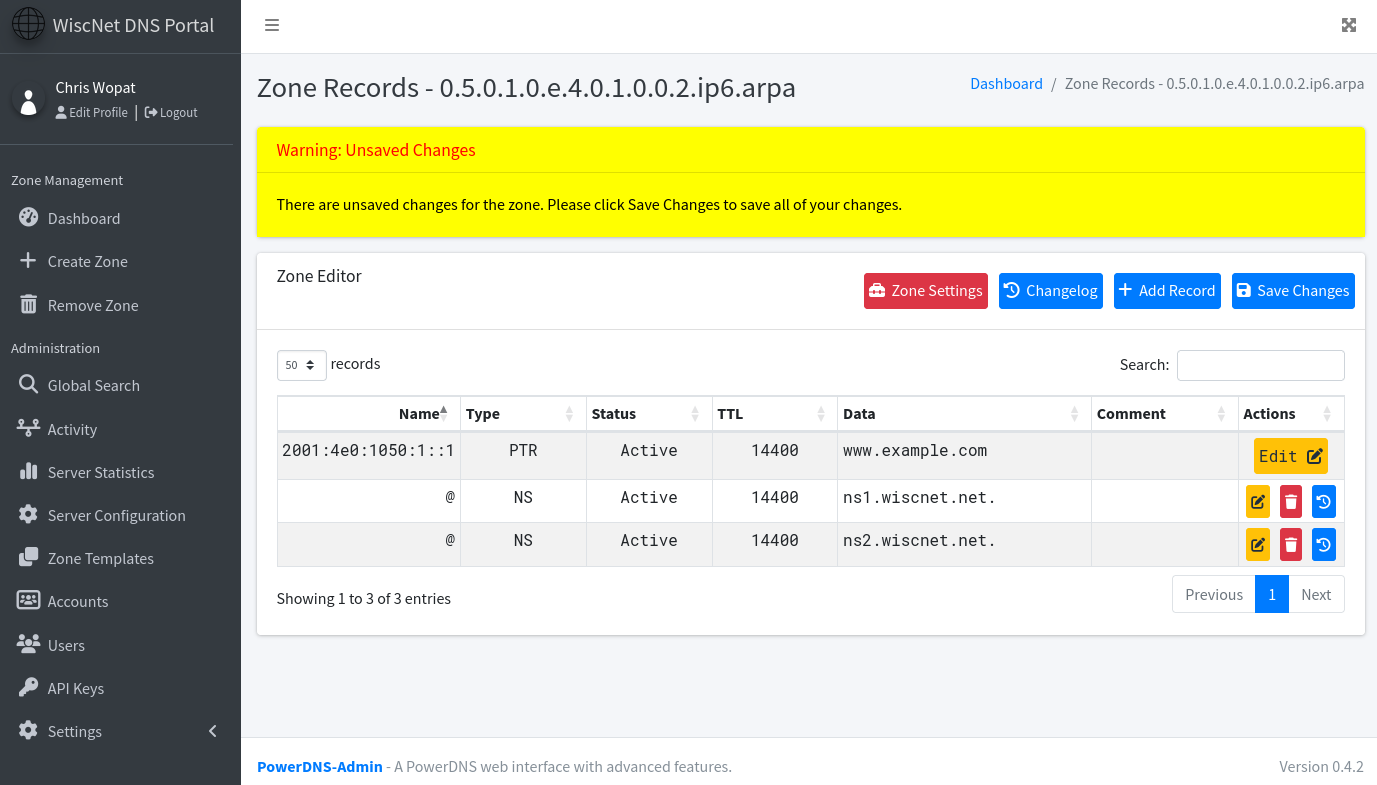
IPv6 reverse zones are listed on the "Zones ip6.arpa" tab. These will only appear if you own or have delegated IPv6 space. IPv6 reverse zones are defined in rfc3152 and use a reverse format. 0.e.4.0.1.0.0.2.ip6.arpa is for 2001:4e0::/32. |
|
Press ADD RECORD OR EDIT button | |
You do not have to reverse the IPv6 address Set the Name to the full ipv6 address. For data, enter the full domain name, www.example.com in this example Note that PTR records require a trailing period (.) character. If you do not enter one, it will be automatically added. |
|
Press SAVE to the right of the record you added You will get a warning at the top Make further additions or changes if desired |
|
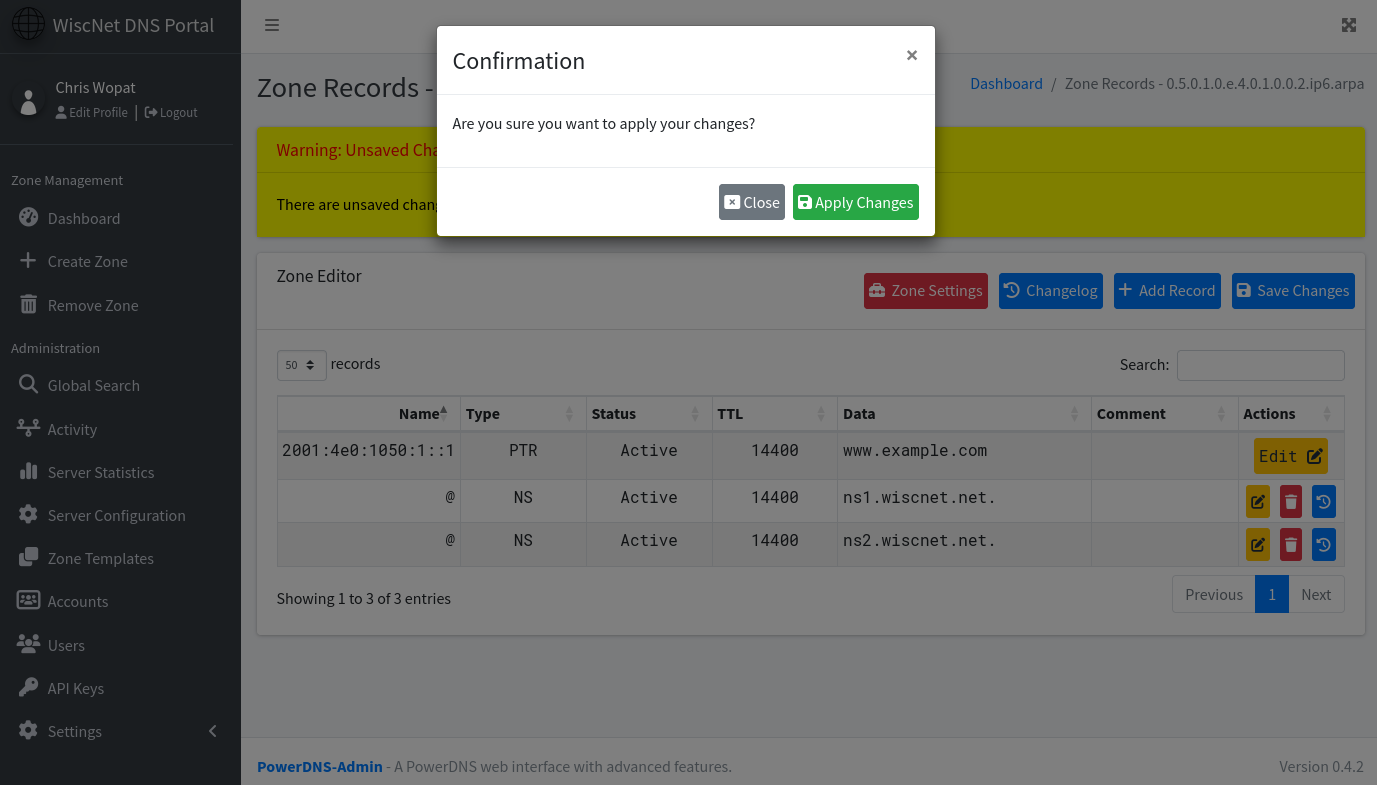
Press SAVE CHANGES 💾 under the yellow warning to apply all changes you've made Confirm changes by pressing APPLY CHANGES |
|
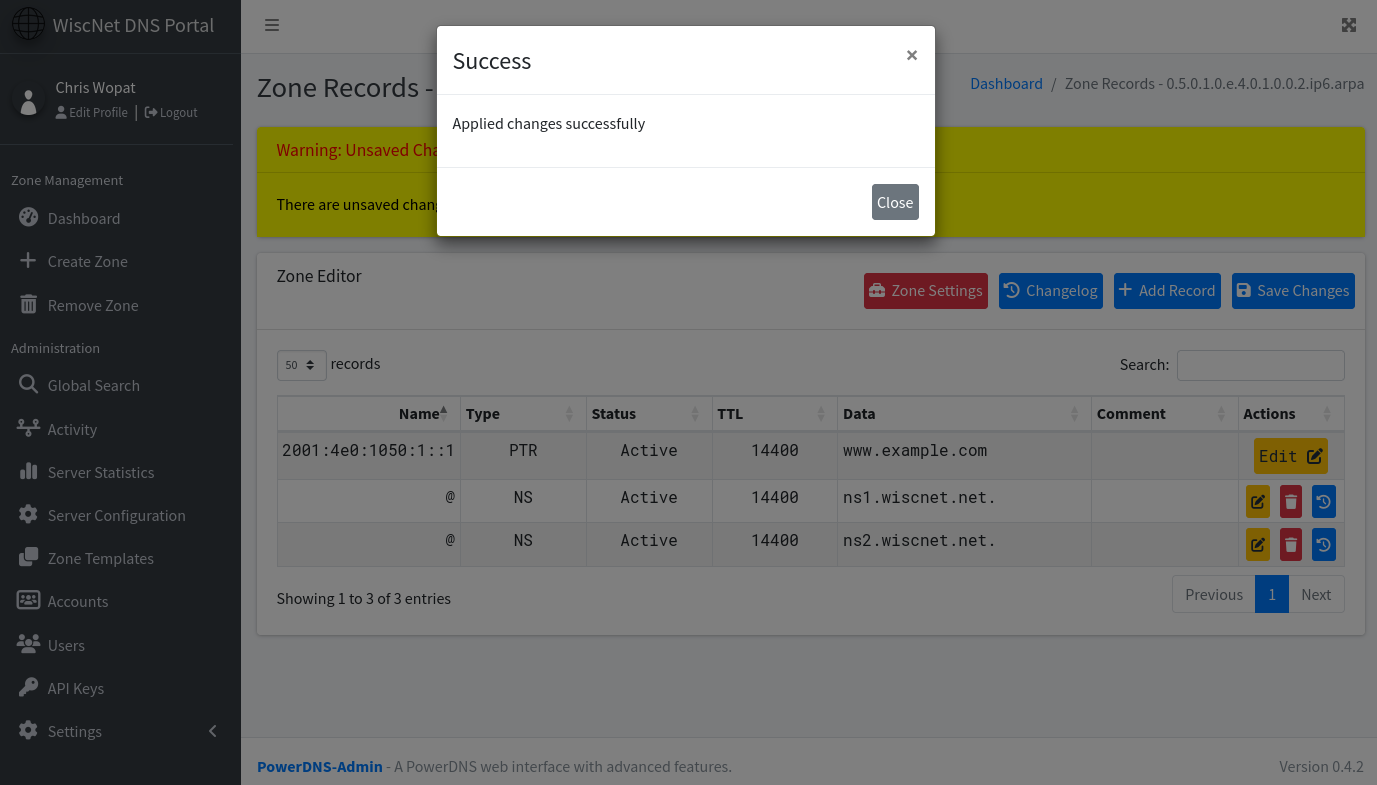
Success! The page will auto refresh |
|
Secondary Zones
If WiscNet's DNS servers are acting as secondary to yours, you may view your zones but cannot make changes in our portal.
Issues
HTTP 500 error
- Could happen during upgrades of the dnsportal. Clear cookies/cache.
- If this doesn't solve the issue, contact WiscNet Support